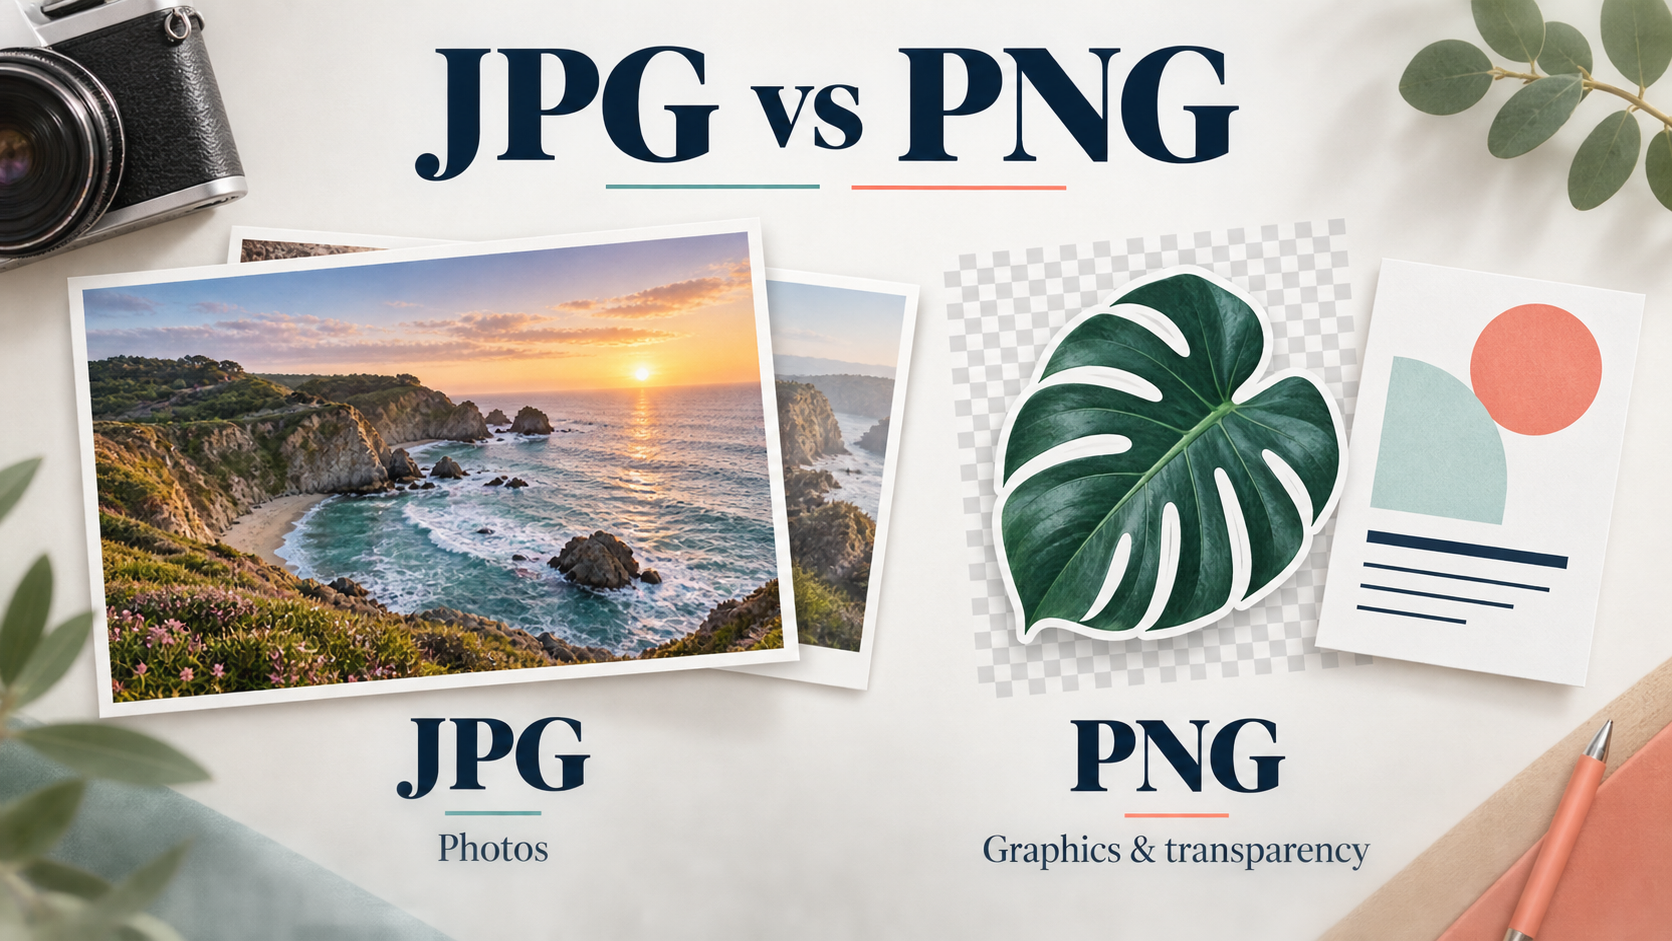
Use JPG for most photographs when a smaller file matters. Choose PNG when you need a transparent background or want to preserve sharp text and graphic edges.
Neither format is best for every image. The right choice depends on what the picture contains and where it will be used—not simply which option has the larger file size. Adobe’s JPEG and PNG comparison
Choose by the job, not the file extension
| What you are saving | Starting choice | What to check |
|---|---|---|
| A holiday, food or product photograph | JPG | Look for visible compression around detailed areas |
| A screenshot containing small text | PNG | Make sure the text is readable at its intended display size |
| A logo with a transparent background | PNG | Confirm the background is actually transparent |
| A chart or simple graphic | PNG | Check thin lines, labels and colour boundaries |
| A photograph with the background removed | PNG | Preserve transparency if it is needed |
| An image for an application form | Follow the form’s requirements | Check format, dimensions and maximum file size |
These are starting points rather than guarantees. A screenshot dominated by a photograph may behave differently from one containing a spreadsheet.
MDN’s image-format guide explains why JPEG suits photographs while lossless formats are useful for sharp graphics. It also covers alternatives such as WebP and SVG. MDN image-format guide
What JPG does differently
JPG and JPEG are two common extensions for the same image format.
The JPEG files normally used for photos apply lossy compression: some image information is discarded to reduce storage requirements. A carefully chosen export setting can produce a useful balance between appearance and file size.
The trade-off becomes easier to notice with strong compression. Fine details may soften, and edges can develop visible artefacts.
Keep your original or editable master file. If you need another version later, export from that source instead of repeatedly editing and recompressing an already compressed copy. Adobe describes this original-to-export workflow in its practical guide. Adobe’s image workflow guidance
What PNG preserves—and what it cannot fix
PNG uses lossless compression and supports transparency. Lossless means the compression can preserve the image data being encoded; it does not mean the picture was high quality to begin with. W3C PNG specification
That distinction matters when converting files.
Saving a blurry JPG as PNG does not bring back detail previously discarded. Likewise, saving a picture with a white background as PNG does not automatically remove the white area. The format can store transparency, but the image must actually contain transparent pixels.
Edits can still change a PNG. Resizing, blurring or reducing its colours may alter the image even though PNG’s compression is lossless.
Is JPG always smaller?
No. For photographs, JPG is often the more space-efficient choice. But file size also depends on image dimensions, content and export settings.
A simple graphic and a detailed photograph should not be treated as the same compression problem. Adobe’s teaching material notes that PNG may be larger or smaller than JPEG depending on the image. Adobe’s web-format reference
For your own comparison:
- Export both versions from the same source.
- Keep their pixel dimensions the same.
- Compare them at the size people will actually view.
- Inspect text, fine edges and transparent areas.
- Choose the smaller version only if it still does the job.
Comparing a small JPG with a much larger PNG tells you little about the formats themselves.
How to convert a file on a Mac
In Preview:
- Open the image.
- Choose File → Export.
- Select JPEG or PNG from the Format menu.
- Save the new version under a different name so the original remains available.
Apple documents this export process for converting image types. Use an export or conversion function rather than treating a filename change as a conversion. Apple’s Preview instructions
If your design is in Canva, its download guidance recommends JPG for photographs and PNG for graphics or transparency. Available export controls depend on the account and design. Canva download guidance
Before you upload
Check the receiving website’s rules first. A technically suitable image can still be rejected because it exceeds the size limit or uses an unsupported format.
Then ask:
- Is the entire image visible, without accidental cropping?
- Can the smallest important text be read?
- Does the background appear as intended?
- Does the file meet the required dimensions and size limit?
- Have I kept an original copy?
For everyday use, the decision is straightforward: start with JPG for a photo, PNG for transparency or sharp graphics, and the destination’s stated requirements whenever they differ.
Leave a Reply